The basics & how little things are big.
To me, good cooking is not about the most expensive ingredients, secret combinations of spices, or lengthy preparation. Cooking should be fun, fit your schedule, and be creative! In my recipes at Bali Silent Retreat, I may ask you to use sterilized jars, throw in a splash of vinegar or crushed garlic.
I realize this may not always be very clear so the following is a mini manual, in case you need a bit more clarity.
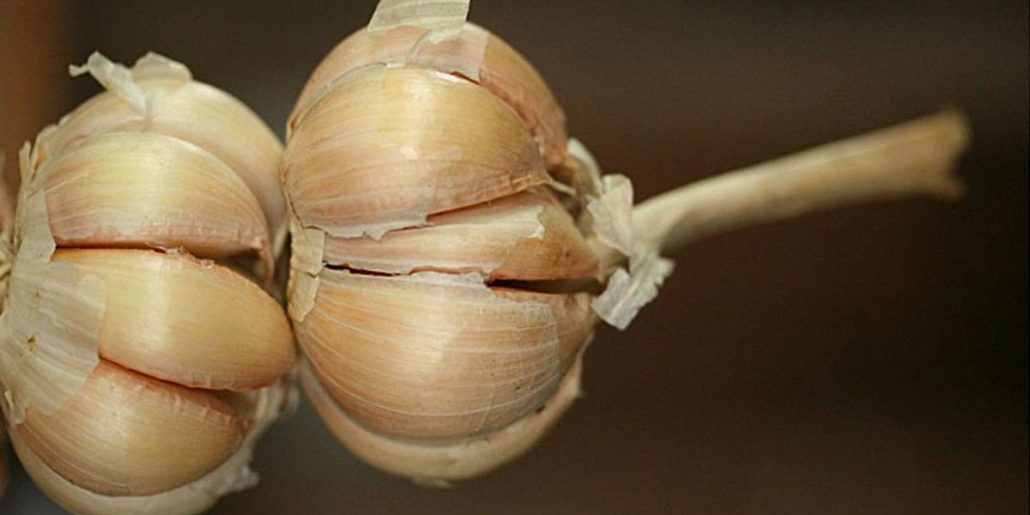
Crushing Garlic
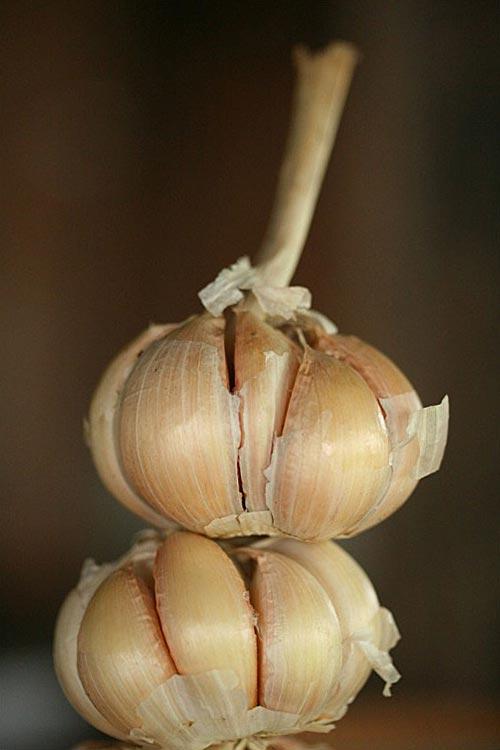 Garlic is absolutely sacred to me for more reasons than I’ll mention here. Used raw, it gives a real sharp, aromatic and pungent kick to foods whilst cooking. Roasting Garlic really transforms the cloves into sweet, mellow tasting delicious pillows of joy. Did I mention I love Garlic? And Garlic loves to be crushed. No, not very finely chopped, blended or sliced, but crushed! Actual crushing does something to Garlic that makes it irresistible. Don’t use a Garlic crusher. Garlic wants you to use the side or handle of knife. I just used the word Garlic 10 times.
Step 1. Place the side of a large knife or any other flat object onto the garlic and with a sharp pound crush the Garlic down.
Step 2. Sprinkle a little salt on the Garlic. This will help it disintegrate.
Step 3. Chop the crushed Garlic clove into pieces.
Step 4. With your knife at a 45 degree angle, press the Garlic into your chopping board, completely dissolving it into a paste. When done, scrape the Garlic together into a pile. This is delicious, freshly crushed goodness which can be used raw or further cooked.
Sour dough starter
A sour dough starter should live in or out of the fridge of any self respecting baker. A sour dough starter is really a colony of wild yeasts, healthy organisms which transform the flour of your bread so it rises into a soft edible bread.
- The starter needs to be fed flour regularly in order to stay alive. If it lives at room temperature is fairly active and will need daily feedings. In the fridge you can get away with feeding it weekly.
- The starter consists of equal amounts of flour and clean water. If you use tap water you may want to filter it as in a lot of countries it contains chlorine.
- At Bali Silent we use holy water for our starter. If you don’t have access to a sacred spring, just give your water a blessing before using it. That’s pretty holy in itself!
- Feed the starter by using half of it and replace that half with equal amounts of flour and water.
It’s that simple! If you don’t use is it, add it to your compost. It works magic. If you don’t have a compost, donate your starter to a friend, inspire them to sour dough bake too. This could be a revolution!
How To:
- Mix 1 cup of water and 1 cup of flour.
- Use wood, glass or plastic, avoid metal which may react.
- Optional, add a teaspoon of commercial yeast to get things started.
- Leave this mixture at room temperature for a couple of days. It should transform into a bubbly, slightly sour but pleasant smelling starter.
That’s as precise as I can get. You’ll be working with your local organisms and I do not know their exact behaviour. I do know they tend to be hard workers and all they require is a clean hotel consisting of flour and water and regular feeding. Refer to sour dough recipes for exact usage. Enjoy!
Sterilizing jars
Jars are fun. I love keeping things in jars. The beauty of jars is that you can fill them with stuff, close them, boil them and in that way the inside of the jar becomes sterile in a vacuum. But there is no end to the many ways to use a jar. A trendy coffee shop in Ubud, Bali serves their black coffee in jars. I was inspired by it and the other day I made myself a coffee in a jar and took it for a motorbike ride. I love sipping coffee in front of traffic lights. I digress.
- Jars should be exceptionally clean if you’re going to store food in them.
- The easy way is to either run them through a very hot dishwasher cycle or after they’ve been washed, plunge them into boiling water for 2 minutes, including lids, but keep them separate – off the jar.
- Fill them with whatever you like, as long as it’s acid based. (For example beans are too alkaline and may go off and create some toxicity.) Fruits are generally quite safe.
- Make sure the fruit preserves you put into them has been boiled also.
- Now screw on the lid and plunge the jar into the boiling hot water again, this time for 10 minutes.
- Lift the jars out of the water and place them up side down in a spot to cool down.
- If all went well you should be able to keep your preserves for a couple of months outside the fridge.
Measurements
It’s actually very hard to be exact when it comes to measurements because all foods are a little different in texture and flavor every day and every time we cook them. Recipes are just guidelines; invitations to play around:
- How salty your salt is.
- How fragrant your basil.
- What’s the moisture level of your bananas.
- The sweetness of your tomatoes.
Therefore, it is absolutely vital to ‘taste as you go’ and to not be afraid to make mistakes. Just go slow, bit by bit. It’s very hard to undo an overdose of vinegar. When it comes to baking, you’ll need to be a bit more precise. It does help to use your measurement cups and scales here. For example, meringues are very sweet. You may want to add less sugar but as a result they won’t crisp up the same way. The sugar is responsible for texture as well as taste in this case.
Storing produce
A few tips to keep things fresh in case you don’t have a veggie patch or do daily market runs.
- Potatoes, ginger, pineapples and bananas do not like your fridge. Keep them in a dark place, a news paper bag is ideal as it will also absorb some moisture.
- Fresh Herbs. Wash and then soak them in very cold water for 10 minutes. Cut off a small bit of the stems. Place them in a little vase with water in a cool spot.
- Dried herbs. Buy small quantities at the time. Store in airtight containers in dark places.
- Spices. Buy whole spices rather than ground. Roast your spices for several minutes in a dry pan before using. Grind them as needed, in a pestle and mortar or blender.
- Wash your greens in ice water, shake them but don’t dry them completely before storing them in the fridge. Wrap them in a towel and then in a plastic bag, if you need to use plastic.
- Be careful with wrapping stuff in plastic or aluminum foil. It may stop a cut cucumber from drying out but most things wrapped in plastic won’t be able to breath and will actually go off quicker this way. Especially mushrooms and eggplant; they prefer a paper bag any day.
The list can go on, but the general rule is, if your grandmother used to do it, it’s probably a good idea.


